How to Root Yota YotaPhone 2 in One Click with KingoRoot Android
YotaPhone 2 has been released as a second generation Android smartphone which improves on the original. As the flagship of Yota in high-end territory it is cheaper than most flagship phones. YotaPhone 2 is the Android smartphone with two screens. It has opted for Android 4.4 Kitkat and ships with the newer 2.3 GHz Snapdragon 801 chip. It features 2 GB of RAM and on the storage front there is 32GB of built-in space. There are pros and cons to the dual-screen set up. But Yota does pre-install a few games which can be easily played on the e-ink screen.
If you want to get rid of the pre-installed applications ,save bettery life and want to customize it to be your own. You can root to achieve the goal. However, if you have no idea how to root your YotaPhone 2 we highly recommend you try KingoRoot which has both APK and PC version both versions are best one-click root tool for any Android device.
Root Your YotaPhone 2 with KingoRoot APK without PC
It is highly recommended that you try KingoRoot Apk first because it is easy to operate and you do not have to connect your device to your computer. Here is a brief guidence about rooting via KingoRoot Apk. All you need to do is just to follow the instructions.
Make good preparations
- Device powered on.
- At least 50% battery level.
- Internet connection(Wi-Fi suggested)
- Make a full backup of your device data.
- Allow installation of apps from "unknown sources" in the Settings > Security > Unknown Sources
After make good preparations you can follow the tutorials below:
- Free download KingoRoot.apk on your YotaPhone 2.
- Install KingoRoot.apk on your device.
- Launch "Kingo Root" app and start rooting.
- Waiting for a few seconds till the result appears.
- Succeeded or failed.
If it fails please try it several times since there are many scripts integrated in the app but only runs one at a time. After several trails if it still fails please try it with the KingoRoot Android PC Version which has a higher success rate.
For more details please click: How to Root Android without Computer (APK ROOT without PC)
Root YotaPhone 2 via KingoRoot Android (PC Version)
Preparations you need to make:
- Device powered ON
- At least 50% battery level
- Internet connection necessary
- USB Cable (the stock one recommended)
After make good preparation you can follow the tutorials below.
- Free download and install KingoRoot Android (PC Version) on your computer.
- Double click the Kingo Android Root desktop icon to launch it.
- Connect it to PC with a USB cable, if it asks for debugging authorization, permit it.
- Enable USB debugging from developer options on your YotaPhone 2.
- Read notifications carefully before rooting your device.
- Click "ROOT" to start root your device
- Root succeeded.
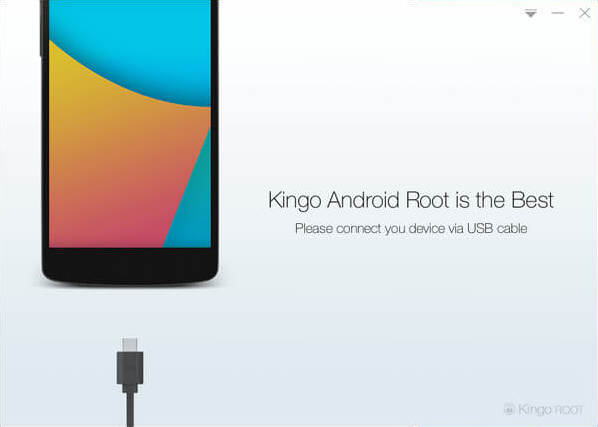
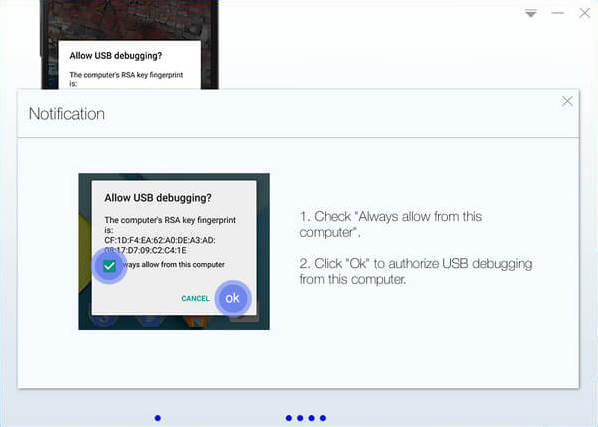
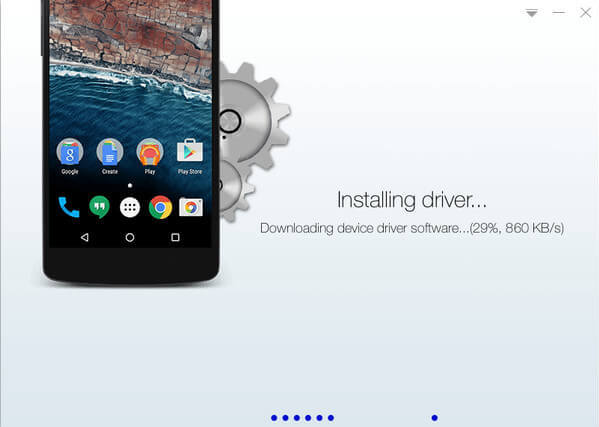
Please make sure you have understanded that you know the notifications are about and you know clearly there may be some risks about rooting.
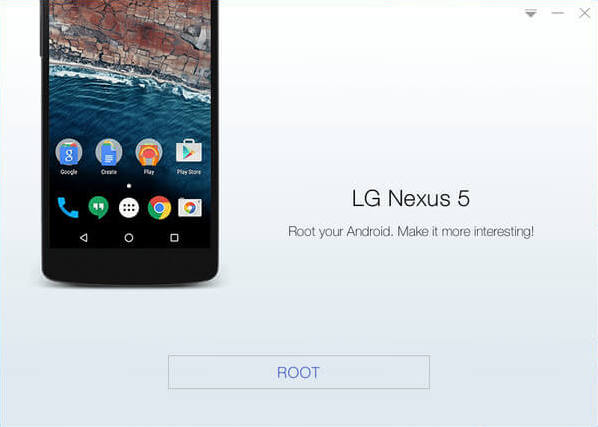
If root succeed your device willl reboot itself, do not operate.
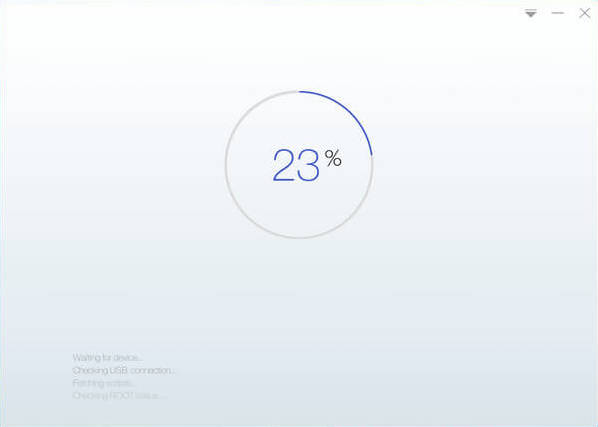
You can check the status of your device by finding "SuperUser" on your device. After successful rooting there will be an app named "SuperUser". Now your device has been rooted enjoy it.
KingoRoot on Windows
KingoRoot Android on Windows has the highest success rate. It supports almost any Android device and version.

KingoRoot for Android
KingoRoot for Android is the most convenient and powerful apk root tool. Root any Android device and version without connecting to PC.

Top Posts
- Successfully Get Root Access On Android 10 (Google Pixle 3 XL) With Magisk
- How to Root Android without Computer (APK ROOT without PC)
- How to Root Android with KingoRoot (PC Version)
- Best Top 5 Root Tools to Safely Gain Root Access for Your Android Devices
- How to Root Your Android 10.0 with Kingoroot root APK and PC root
- How to Root Your Android 5G with Kingoroot root APK and PC root
- How to Root Android 9.0 Pie with Kingoroot Both root APK and PC root Software
- How to Root Android 8.0/8.1 Oreo with KingoRoot APK and Root Software
- How to Root Huawei Packed with EMUI 8 and EMUI 9 or Higher with Magisk
- How to Root Samsung running Android 9.0 Pie with Magisk
