How to Root Vivo X6 via KingoRoot Android (PC Version)
Why root via KingoRoot?
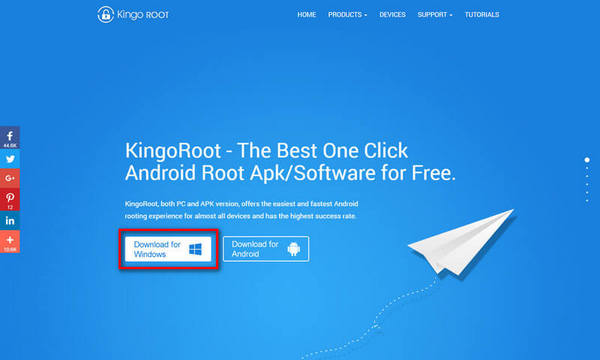
As we all know rooting your device may bring many benefits so more and more people are seeking a fast way to root their device. If you also look for a method to root your device we highly recommend you try KingoRoot which is worthy to have a try. KingoRoot makes use of the exploits and it is a universal root tool for any Android device which makes it the best one-click root tool for any Android device for free. KingoRoot, both PC and APK version, offers the easiest and fastest Android rooting experience for almost all devices and has the highest success rate.
Benefits and risks about rooting
After rooting it means giving yourself root permissions on your phone., you can manage all objects in the operating system. Users can delete the pre-installed program in addition to visualization applications. However, rooting may also have risks such as lose your original data on RAM. So it is better to make a full backup of your device before you root your device. Rooting will immediately void your phone's warranty and involves the risk of "Bricking your device". You should consider carefully whether root it or not.
In this article we will introduce you how to root your Vivo X6 step by step. Before we proceed we should know the basic information of the device first. Vivo X6 was released in December 2015. The device comes with a 5.20-inch touchscreen display and is powered by 1.7GHz octa-core MediaTek MT6752 processor. The device comes with 4GB of RAM as well as 32GB of internal storage which can be expanded up to 128GB via a microSD card. The device ships with Android 5.1 and is powered by a 2400mAh non removable battery.
After knowing the specific information about the device we will come to the part about how to root your Vivo X6 step by step.
Root Vivo X6 via KingoRoot APK without PC
There are two versions with KingoRoot: PC and APK version. If you think rooting via the PC version is too complicated you can root via the apk one first which is more easy to operate.
After you make good preparations just follow the guidence below to root your device.
- Free download KingoRoot apk on your Vivo X6.
- Install KingoRoot on your device and launch it.
- Click "One Click Root" to start the rooting process.
- Wait a few minutes the result will appear: succeeded or failed.
If it fails please try it multiple times because KingoRoot makes use of several exploits to root your device and KingoRoot can only run one at a time. So please try it more times to increase the success rate. If you still can not root your device successfully please try it via KingoRoot Android PC Version which has a higher success rate.
For more details, click How to root any Android device and version with KingoRoot APK?
Root Vivo X6 via KingoRoot Android (PC Version)
Make good preparations
- Make sure your device is powered on.
- At least 50% battery level.
- USB cable(the original one suggested)
- Enable USB Debugging
- Make a full backup of your device data before you proceed.
After you make good preparations you can root your device step by step as the following gudience suggested.
Step 1: Free download KingoRoot and install it on your device.

Step 2: Double-click Kingo Android Root icon and launch it.
You will see an interface like below.

Step 3: Conncet your device Vivo X6 to the computer via USB cable
If there is no device driver it will be installed automatically. If it is the first time you connect your device to the computer it will take a few minutes please be patient.
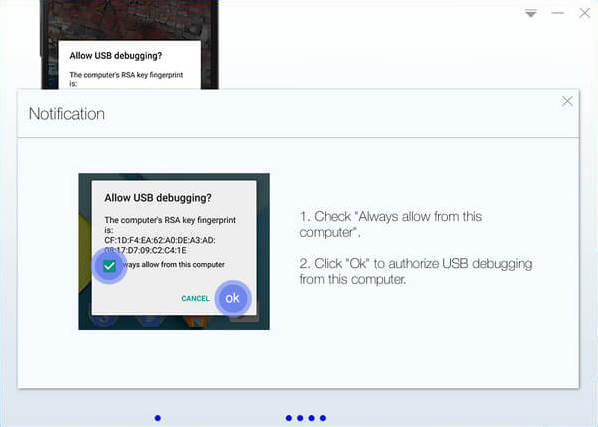
Step 4: Enable USB Debugging Mode
Enable USB Debugging Mode on your device. If you have no idea how to enable USB Debugging on your device you can see the details here:
How to enable USB Debugging mode?

Step 5: Read Root Notifications carefully
Read the short notifications carefully about rooting and make sure you know all the advantages and disadvantages, benefits and risks about rooting. After make clear of that you can proceed to the next step.
Step 6: Click root to start rooting process
Click "Root" when you decide to root your device. Once start do not move, touch, unplug or operate your device. Make sure stable connection available.

Step 7: Result: succeed or failed
After rooting the result will appear on the interface. If you have rooted your device successfully you will get the message like below. And you can check whether your device is rooted successfully or not by searching the SuperUser. If root succeed there will be an application named SuperUser on your device.

KingoRoot on Windows
KingoRoot Android on Windows has the highest success rate. It supports almost any Android device and version.

KingoRoot for Android
KingoRoot for Android is the most convenient and powerful apk root tool. Root any Android device and version without connecting to PC.

Top Posts
- Successfully Get Root Access On Android 10 (Google Pixle 3 XL) With Magisk
- How to Root Android without Computer (APK ROOT without PC)
- How to Root Android with KingoRoot (PC Version)
- Best Top 5 Root Tools to Safely Gain Root Access for Your Android Devices
- How to Root Your Android 10.0 with Kingoroot root APK and PC root
- How to Root Your Android 5G with Kingoroot root APK and PC root
- How to Root Android 9.0 Pie with Kingoroot Both root APK and PC root Software
- How to Root Android 8.0/8.1 Oreo with KingoRoot APK and Root Software
- How to Root Huawei Packed with EMUI 8 and EMUI 9 or Higher with Magisk
- How to Root Samsung running Android 9.0 Pie with Magisk