How to Root Lenovo Z2 Plus via KingoRoot Android (PC Version)
Lenovo Z2 Plus was released in September 2016. The phone features a 5.00-inch touchscreen display. The Lenovo Z2 Plus is powered by 2.15GHz quad-core Qualcomm Snapdragon 820 processor. It comes with 3GB of RAM as well as 32GB of internal storage which can not be expanded. The Lenovo Z2 Plus ships with Android 6.0.1 and has 3500mAh capacity. The phone also has its shortcomings such as sub-par camera, 960fps shooting is just a gimmick no expandable storage and fast Charge capable charger not bundled. However, some of the problems can be fixed by rooting such as the no expandable storage we can uninstall the bloatwares pre-installed in our device and we can extend the battery life by the third party such as Kingo SuperBattery.
If you have no idea how to root your Lenovo Z2 Plus we highly recommend you try KingoRoot which comes with PC and APK version both versions are easy to operate and universal root tools for almost any android device.
Root Lenovo Z2 Plus via KingoRoot APK without PC
We do suggest you root your device via KingoRoot APK first, since there is no need to connect your device to the computer via USB cable and it is very convenient. If you are ready just follow the steps below.
Make good preparations
After good preparation are made just follow the guidence below to root your device.
- Enable install from "Unknown sources" on your Lenovo Z2 Plus
- Free download KingoRoot.apk on your Lenovo Z2 Plus.
- Install KingoRoot on your device and launch it.
- Click "One Click Root" to start the rooting process.
- Wait a few minutes until the results appear: succeeded or failed.
If it fails please try it multiple times because there are several scripts integrated in your device so please try it one more time to increase the success rate. If you still can not root your device successfully please root it via KingoRoot Android PC Version which has a higher success rate.
For more details, click How to root any Android device and version with KingoRoot APK?
Root Lenovo Z2 Plus via KingoRoot Android (PC Version)
Make good preparations
- Make sure your device is powered on.
- At least 50% battery level.
- You need a USB cable to connect your device.(the original one is recommended.)
- Make a full backup of your device data before you proceed in case of something wrong.
- Internet connection necessary
After you make good preparation you can root your device step by step as the following gudience suggested.
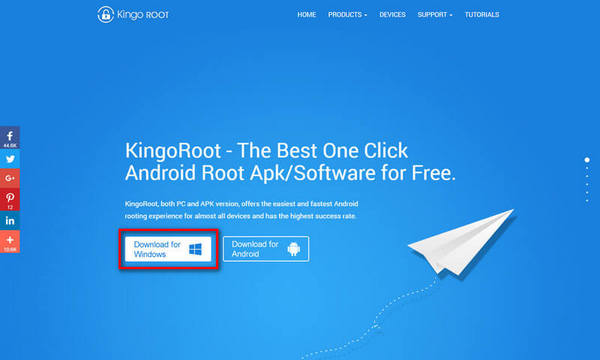
Step 1:Free download KingoRoot and install it on your Lenovo Z2 Plus.

Step 2: Once Kingo Android Root icon installed launch the application
You will see an interface like below.

Step 3: Conncet your device Lenovo Z2 Plus to the computer via USB cable
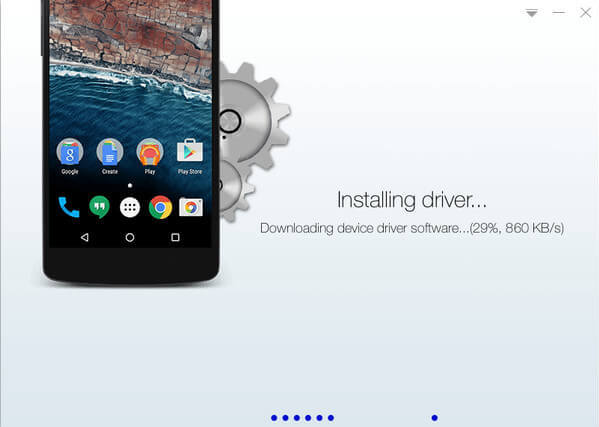
If there is device driver on your computer Kingo will detect. If there is none Kingo will install one for you automatically. Just the instructions Kingo provide for you.
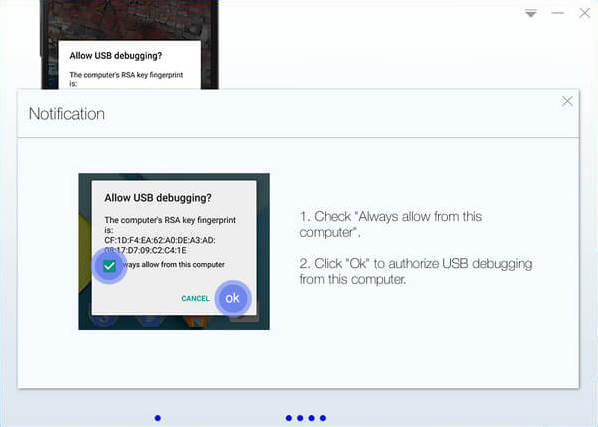
Step 4: Enable USB Debugging Mode
Enable USB Debugging Mode on your device. If you have no idea how to enable USB Debugging on your device you can see the details here:
How to enable USB Debugging mode?

Step 5: Read Root Notifications carefully
Pay attention to the short notifications about rooting on the popup. Please read carefully about rooting and make sure you know all the advantages and disadvantages about rooting even the risks. After make clear of that you can proceed to the next step.
Step 6: Start rooting
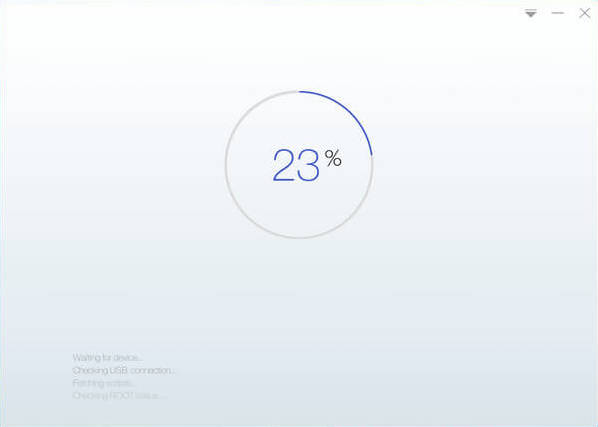
Click "Root" when you decide to root your device. Once start to root do not move, touch, unplug or operate your device. Make sure stable connection available. You will see the progress bar.

Step 7: Result: succeed or failed
Once the rooting process is completed you will get the message saying "Root Successfully". And you can check whether your device is rooted successfully or not by searching the SuperUser. If succeed there will be an application named SuperUser on your device.

KingoRoot on Windows
KingoRoot Android on Windows has the highest success rate. It supports almost any Android device and version.

KingoRoot for Android
KingoRoot for Android is the most convenient and powerful apk root tool. Root any Android device and version without connecting to PC.

Top Posts
- Successfully Get Root Access On Android 10 (Google Pixle 3 XL) With Magisk
- How to Root Android without Computer (APK ROOT without PC)
- How to Root Android with KingoRoot (PC Version)
- Best Top 5 Root Tools to Safely Gain Root Access for Your Android Devices
- How to Root Your Android 10.0 with Kingoroot root APK and PC root
- How to Root Your Android 5G with Kingoroot root APK and PC root
- How to Root Android 9.0 Pie with Kingoroot Both root APK and PC root Software
- How to Root Android 8.0/8.1 Oreo with KingoRoot APK and Root Software
- How to Root Huawei Packed with EMUI 8 and EMUI 9 or Higher with Magisk
- How to Root Samsung running Android 9.0 Pie with Magisk