How to Root Lenovo P2 Android Device via KingoRoot Android (PC Version)
Lenovo P2 was released in September 2016. Some users say the device has such advantages: metal body feels premium, quick fingerprint scanner, fast charging support and great battery life. It also has its disadvantages such as the device feels heavy, Hybrid SIM slot, no scratch protection for display and low-quality bundled earphones.
Many users root their device in order to customize the device, save the battery life, block ads, speed up the device, uninstall the bloadwares and flash a Custom ROM on the device. If you also have such requirements you should root your device then you can perform the above actions. If you want to root your Lenovo P2 and have no idea about rooting we highly recommend you try KingoRoot which makes use of the exploits and it is a universal root tool for any Android device which makes it the best one-click root tool for any Android device for free.
Root Lenovo P2 via KingoRoot APK without PC
KingoRoot comes with both PC and APK versions. We do suggest you root your device via KingoRoot APK first, via the mobile application you do not have to connect your device to the computer via USB cable and it is very convenient. If you are ready just follow the steps below.
After you make good preparation just follow the guidence below to root your device.
- Free download KingoRoot apk on your Lenovo P2.
- Install KingoRoot on your device and launch it.
- Click "One Click Root" to start the rooting process.
- Wait a few minutes there will come the results: succeeded or failed.
If it fails please try it multiple times because KingoRoot makes use of several exploits to root your device and KingoRoot can only run one script at a time. So please try it more times to run the other scripts.
For more details, click How to root any Android device and version with KingoRoot APK?
If you still can not root your device successfully please root it via KingoRoot Android PC Version which has a higher success rate.
Root Lenovo P2 via KingoRoot Android (PC Version)
Make good preparations
- Make sure your device is powered on.
- At least 50% battery level.
- USB cable(the original one suggested) needed
- Enable USB Debugging on your Lenovo P2
- Make a full backup of your device data before you proceed.
After you make good preparations you can root your device step by step as the following steps suggested.
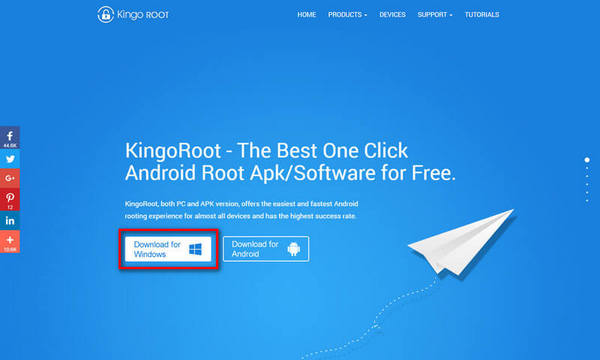
Step 1: Free download KingoRoot and install it on your device.

Step 2: Double-click Kingo Android Root icon and launch it.
After you launch it you will get a prompt asking you to connect your device to the computer.

Step 3: Conncet your device Lenovo P2 to the computer via USB cable
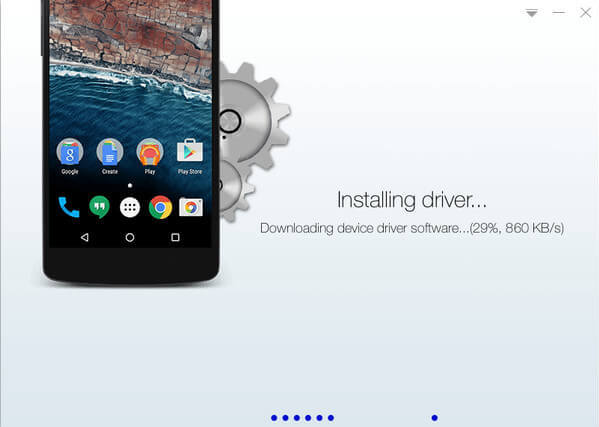
If there is no device driver Kingo will install one for you. Just follow the instructions suggested the driver will be installed on your device.
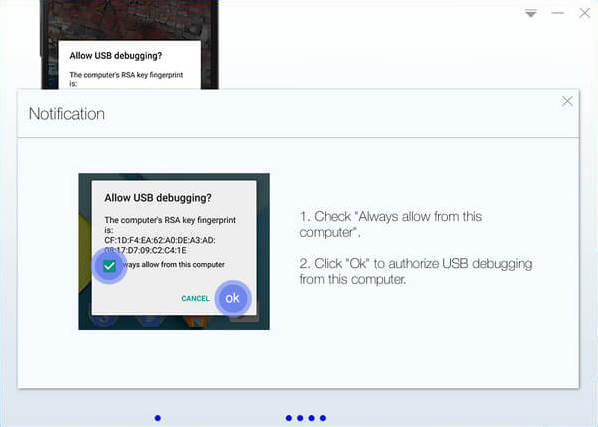
Step 4: Enable USB Debugging Mode
Enable USB Debugging Mode on your device. If you have no idea what is USB Debugging and how to enable USB Debugging on your device you can see the details here:
How to enable USB Debugging mode?

Step 5: Read the notifications carefully
Please read the notifications carefully about rooting and make sure you know all the advantages and disadvantages, the benefits and risks. You can click here to know more about android rooting. If you still want to root your device you can move to the next step.
Step 6: Start rooting
Click "Root" to start the rooting process. Once start do not move, touch, unplug or operate your device. Make sure stable connection available.

Step 7: Result: succeed or failed
After rooting the result will appear on the interface. If you have rooted your device successfully you will get the message like below. And you can check whether your device is rooted successfully or not by searching the SuperUser. If succeed there will be an application named SuperUser on your device.

KingoRoot on Windows
KingoRoot Android on Windows has the highest success rate. It supports almost any Android device and version.

KingoRoot for Android
KingoRoot for Android is the most convenient and powerful apk root tool. Root any Android device and version without connecting to PC.

Top Posts
- Successfully Get Root Access On Android 10 (Google Pixle 3 XL) With Magisk
- How to Root Android without Computer (APK ROOT without PC)
- How to Root Android with KingoRoot (PC Version)
- Best Top 5 Root Tools to Safely Gain Root Access for Your Android Devices
- How to Root Your Android 10.0 with Kingoroot root APK and PC root
- How to Root Your Android 5G with Kingoroot root APK and PC root
- How to Root Android 9.0 Pie with Kingoroot Both root APK and PC root Software
- How to Root Android 8.0/8.1 Oreo with KingoRoot APK and Root Software
- How to Root Huawei Packed with EMUI 8 and EMUI 9 or Higher with Magisk
- How to Root Samsung running Android 9.0 Pie with Magisk