How to Root Huawei Ascend G7 with APK without pc
Do you want to know the way to root Huawei Ascend G7?
Maybe not everybody know how to do that. No worry KingoRoot will show you how to do that in a easy and safe way.
Let us built a sketch first.
Huawei Ascend G7 is also known as Huawei G7-L01, G7-L03. Huawei Ascend G7 was announced in 2014, September. G7 is built from plastic and metal packed into a unibody. The Ascend G7 has a quality feel to it and for 165g actually feels light. It carry a 5.5-inch IPS screen with 1280 x 720 resolution. Internal storage 16 GB and 2 GB RAM. Packed with non-removable Li-Po 3000 mAh battery.
This device is good value for money.
However sword has double edges.
The screen is only 720p slightly low-dpi. And not all camera features work well. Interface can be confusing. Some software quirks also.
Before you start please unlock your bootloader first.
Root Huawei Ascend G7 via KingoRoot APK without connecting to PC
RECOMMEND It is suggested that you try KingoRoot Apk first for that it is more convenient and easy to use without connecting to a computer.
- Allow installation of apps from unknown sources on your Android device.
- Free download KingoRoot.apk on your Android.
- Install and launch KingoRoot.
- Press "One Click Root" on the main interface.
- Wait a few seconds until the result appear.
- Try a few more times for different rooting methods if failed.
- If still failed, refer to KingoRoot Android PC Version, which has a higher success rate.
Settings > Security > Unknown Sources
For more detailed tutorial, please click How to root any Android device and version with KingoRoot APK?
Root Huawei Ascend G7 via KingoRoot (PC Version)
Prerequisites:
- A Windows-based computer with Internet Access;
- Android device powered ON with at least 50% battery level;
- An original USB cable or a quality one at least.
Settings:
- Turn off any sort of firewalls or anti-virus software on your Windows;
- USB Debugging Mode enabled on your Android device;
Start rooting...
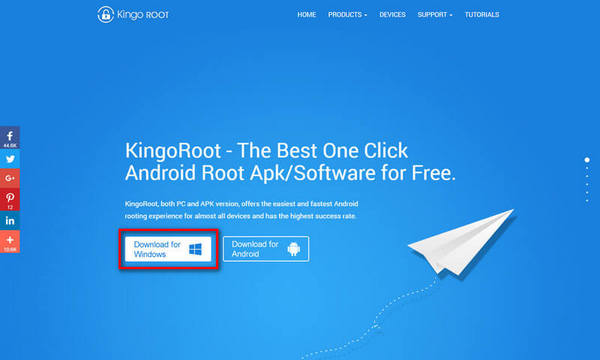
- Step 1: Download, install and launch KingoRoot Android(PC Version).
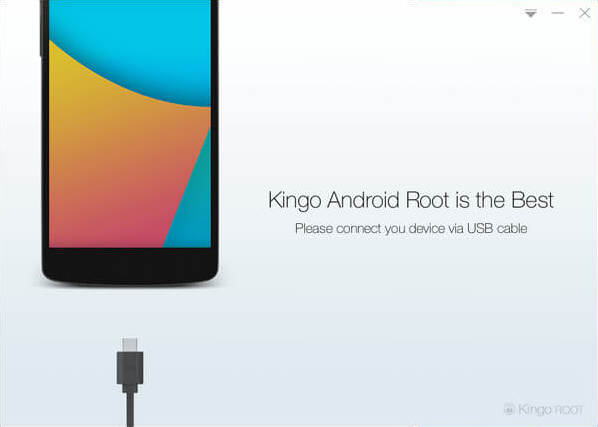
- Step 2: Plug your Android device into your computer via USB cable.
- Step 3: Enable USB Debugging mode. (Skip this step if it's enabled)
- Step 4: Things you need to know before rooting your device.
- Step 5: Click "ROOT" to begin the process.
- Step 6: Root succeed.

Double click the desktop icon to launch KingoRoot Android PC Version.

How to solve driver installation looping on Windows 8 when running Kingo Android Root?
Rooting your Android has its own advantages and at the same time disadvantages. It is a matter of weighing pros and cons.
Android rooting is a modification process to the original system, in which the limitations are removed and full-access is allowed and thus resulting in the ability to alter or replace system applications and settings, run specialized apps and even facilitate the removal and replacement of the device's operating system with a custom one. Rooting your device will immediately void your warranty..

KingoRoot on Windows
KingoRoot Android on Windows has the highest success rate. It supports almost any Android device and version.

KingoRoot for Android
KingoRoot for Android is the most convenient and powerful apk root tool. Root any Android device and version without connecting to PC.

Top Posts
- Successfully Get Root Access On Android 10 (Google Pixle 3 XL) With Magisk
- How to Root Android without Computer (APK ROOT without PC)
- How to Root Android with KingoRoot (PC Version)
- Best Top 5 Root Tools to Safely Gain Root Access for Your Android Devices
- How to Root Your Android 10.0 with Kingoroot root APK and PC root
- How to Root Your Android 5G with Kingoroot root APK and PC root
- How to Root Android 9.0 Pie with Kingoroot Both root APK and PC root Software
- How to Root Android 8.0/8.1 Oreo with KingoRoot APK and Root Software
- How to Root Huawei Packed with EMUI 8 and EMUI 9 or Higher with Magisk
- How to Root Samsung running Android 9.0 Pie with Magisk