How to Root Gionee Elife S8 with KingoRoot Android (PC Version)
Gionee has released its new flagship smartphone Gionee Elife S8. The Gionee Elife S8 comes with MediaTek Helio P10 octa-core processor and 4GB of RAM as well as 64GB internal memory. It features a 5.5-inch full HD AMOLED display and powered by 3000 mAh battery. It runs Android 6.0 Marshmallow.
The phone as the newest flagship has its advantages and also its disadvantages such as the non removable battery. The battery capacity is not big enough to last long and the battery becomes a problem. However you can adopt the third party apps to help you save battery such as Kingo SuperBattery which is only available for rooted device so if you want to use it you should root your device first. If you have no idea how to root your Gionee Elife S8 you can try it on KingoRoot which has both PC and APK versions and offers the easiest and fastest Android rooting experience for almost all devices and has the highest success rate.
Root Gionee Elife S8 with KingoRoot (PC Version)
Before you proceed please make good preparations.
- Device powered on
- At least 50% battery level
- Make sure the Internet is connected
- USB cable avaliable (the origianl one suggested)
- It is better to make a full backup
After all these preparations are made you can move to the rooting process.
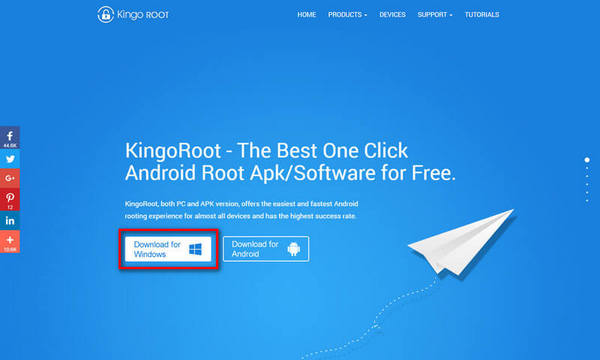
- Download KingoRoot Android (PC Version) for free.
- After installation click Kingo Android Root to launch it.
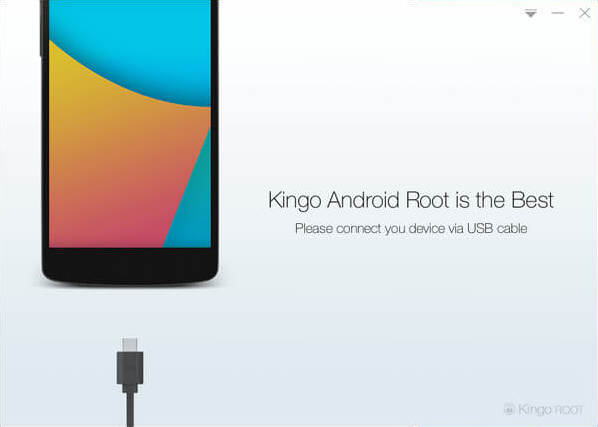
- Connect your device to computer via USB cable.
- Enable USB Debugging on your Android
- After connection the basic information of your device will appear
- Wait a few minutes till the rooting process completes.
- Result: Root succeed or fail.
- Check the root status

After launching you will see an interface prompt that connect your device via USB cable.

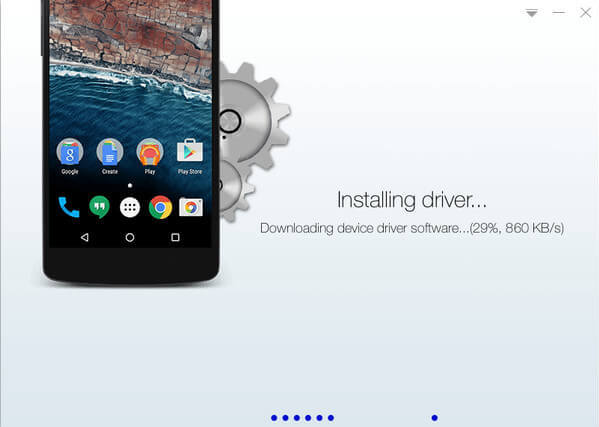
There should be a device driver as a medium to recoginize the information. If there is none Kingo will install one for you automatically. Just follow the instructions and install driver on your computer.

Only with the USB Debugging enabled the computer can recognize your device. If the computer can not recognize your device please check if the USB Debugging is enabled.
How to enable USB Debugging mode?
Pay attention to the prompt window, select "Always allow from this computer", otherwise you will leave yourself an OFFLINE DEVICE.
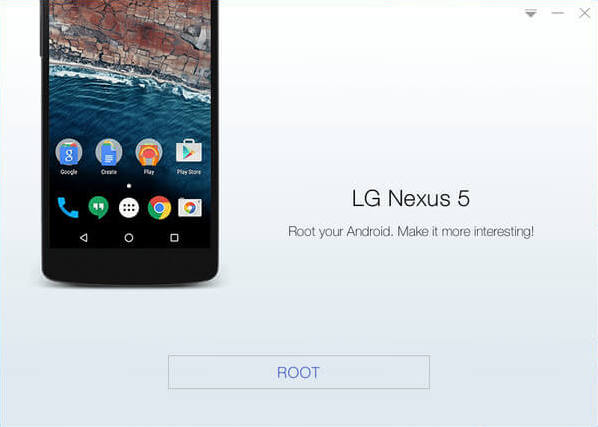
KingoRoot will detect the information of your device and there will be an interface about your device model you can click root after you know the basic knowledge of rooting and both the benefits and risks root will bring please click root at the bottom of the interface.

Kingo Android Root has employed multiple exploits on your device so it will take a few minutes to finish the rooting process. During the rooting process do not perform any operation on it.

Hope your device can be rooted successfuly by Kingo. After successful rooting the device will reboot itself please do not be panic and do not operate, either.

Normally, there will be an app named "SuperUser" installed on your device after rooting successfully.
If you think the rooting process is too complicated or you think connecting to your computer is inconvenient. You can also try it with the KingoRoot.apk.
KingoRoot on Windows
KingoRoot Android on Windows has the highest success rate. It supports almost any Android device and version.

KingoRoot for Android
KingoRoot for Android is the most convenient and powerful apk root tool. Root any Android device and version without connecting to PC.

Top Posts
- Successfully Get Root Access On Android 10 (Google Pixle 3 XL) With Magisk
- How to Root Android without Computer (APK ROOT without PC)
- How to Root Android with KingoRoot (PC Version)
- Best Top 5 Root Tools to Safely Gain Root Access for Your Android Devices
- How to Root Your Android 10.0 with Kingoroot root APK and PC root
- How to Root Your Android 5G with Kingoroot root APK and PC root
- How to Root Android 9.0 Pie with Kingoroot Both root APK and PC root Software
- How to Root Android 8.0/8.1 Oreo with KingoRoot APK and Root Software
- How to Root Huawei Packed with EMUI 8 and EMUI 9 or Higher with Magisk
- How to Root Samsung running Android 9.0 Pie with Magisk