How to Root Blackberry DTEK60 Android Device with KingoRoot
If you want to root Blackberry devices it is worthy to have a try on KingoRoot which has both APK and PC version and both versions are one-click root tool with higher success rate. DTEK60 as the newest flagship many people who bought it would wonder how to root it.
Blackberry has released its new flagship DTEK60 in 2016. The DTEK60 is based on an existing Alcatel design, in this case the Idol 4S without BlackBerry's old QWERTY keyboard.
The design features a metal outer frame and glass body panels for both front and back. It has the following specifications.
- 5.5″ 2560 x 1440 Quad HD Display
- Qualcomm Snapdragon 820 Processor
- 4GB RAM
- 32GB Storage
- 21-megapixel rear-facing camera
- 8-megapixel Front-facing camera
- Fingerprint sensor
- Convenience key
- USB Type-C
- 3,000mAh Battery w/ QC3.0
After knowing clearly about the phone you may want to customize it. Before that you need a rooted device, you can follow the tutorial below to root your device you will find root is never that difficult as you expect.
Root Blackberry DTEK60 via KingoRoot APK without PC
Important
KingoRoot has two versions and we do suggest you can try KingoRoot.apk first since you do not need to connect your device to your computer via USB cable and it is covenient.
- Open "unknown sources" option on your DTEK60.
- Download KingoRoot.apk on your DTEK60 from Offical Website.
- Install KingoRoot APK on your device and launch it.
- Then click "One Click Root" to start the rooting process.
- After a few minutes, the result will come out: succeeded or failed.
- If it fails please try a few more times to improve the success rate.
- If still fails, we refer to KingoRoot android PC version, which has a higher success rate.
Root Blackberry DTEK60 via KingoRoot Android (PC Verison)
Make preparation
- Make sure your device is powered ON.
- At least 50% battery level
- USB Cable (the original one recommended)
- Enable USB Debugging on your device.
- In case anything happens, please do make a full backup of your device.
Start the rooting process
- Download KingoRoot Android (Windows version) and install it on your PC.
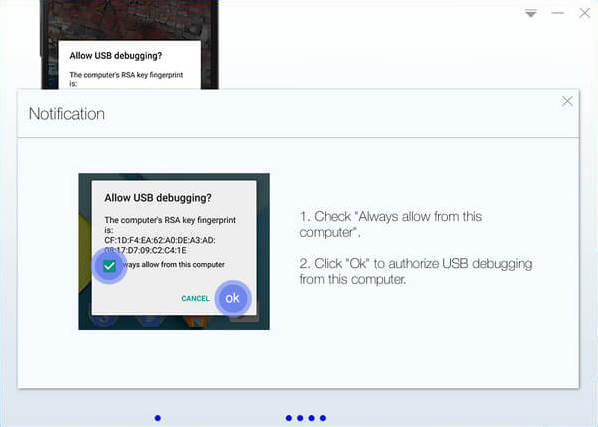
- After the installation is complete double click Kingo Android Root to launch it. Follow the instructions to connect your device to computer via USB cable. At the same time, enable the USB Debugging on your device.
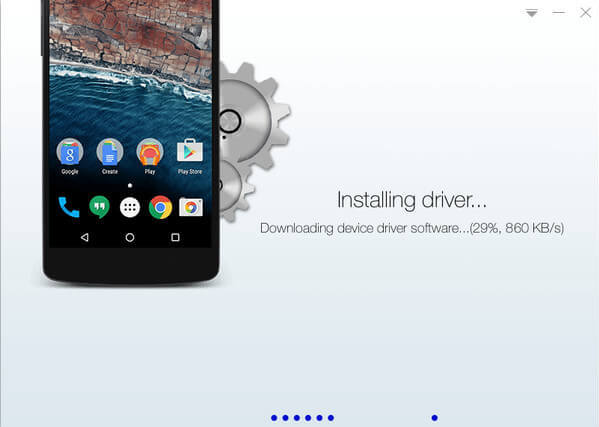
- If there is no device driver KingoRoot Android will install it on your device automatically. It will take some time. After the drivers are installed, KingoRoot will establish a connection with your device and there will be a info page with your device model and root status.
- There will be three short notifications on android rooting. Please make sure that you read them carefully before you proceed. If you still want to root your device please click "Root" to start the rooting process.
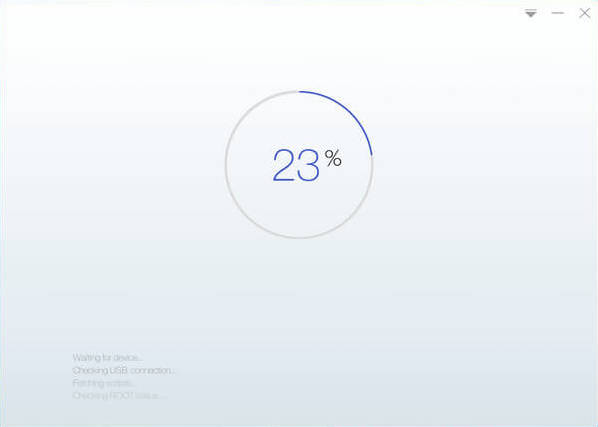
- It will take a few minutes to root your device. Please do not operate the device.
- Normally, you will find an app named "SuperUser" installed on your device after successful rooting.


![]()
After rooting you are able to customize your device and hope you like it.
KingoRoot on Windows
KingoRoot Android on Windows has the highest success rate. It supports almost any Android device and version.

KingoRoot for Android
KingoRoot for Android is the most convenient and powerful apk root tool. Root any Android device and version without connecting to PC.

Top Posts
- Successfully Get Root Access On Android 10 (Google Pixle 3 XL) With Magisk
- How to Root Android without Computer (APK ROOT without PC)
- How to Root Android with KingoRoot (PC Version)
- Best Top 5 Root Tools to Safely Gain Root Access for Your Android Devices
- How to Root Your Android 10.0 with Kingoroot root APK and PC root
- How to Root Your Android 5G with Kingoroot root APK and PC root
- How to Root Android 9.0 Pie with Kingoroot Both root APK and PC root Software
- How to Root Android 8.0/8.1 Oreo with KingoRoot APK and Root Software
- How to Root Huawei Packed with EMUI 8 and EMUI 9 or Higher with Magisk
- How to Root Samsung running Android 9.0 Pie with Magisk