How to Root BenQ F52 without Computer (APK ROOT without PC)
BenQ has released it new flagship smartphone BenQ F52 for a year. The device features a 5.2-inch screen and powered by the 64-bit octa-core Snapdragon 810 CPU with 3GB of RAM and 16GB of internal storage which can be extedned by the microSD slot. It runs on Android 5.0.
If you want to customize the phone and make it truly your own you can achieve the goal by rooting your device. If you have no idea how to root it we highly recommend you try it via KingoRoot which has both PC and Apk version both versions are one click root tools and they are easy to operate.
Root Your BenQ F52 with KingoRoot Apk
We suggest you root your BenQ F52 with KingoRoot Apk first since there is no need to connect your device to your computer via USB cable.
Before you root your device you should make both knowledge and device preparations.
- Knowledge preparation: You should have knowledge of android root. You should know both the benefits and risks rooting may cause. You have made clear what you are doing.
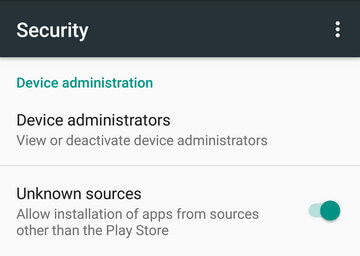
- Device preparation: You should make your BenQ F52 powered on, at least 40% battery level, internet connection necessary(Wi-Fi recommended) and make a full backup of your device. You should enable "unknown sources" on your device in order to install KingoRoot.apk. on your device. You can set it in the Settings > Security.
Step 1: Download KingoRoot.apk on your BenQ F52.

The download will be started automatically. If there is a warn about KingoRoot.apk asking "Do you want to keep KingoRoot.apk anyway?" just click ok to proceed.
Step 2: Install KingoRoot.apk on your BenQ F52.
If you did not enable install from unknown sources there will be a prompt "Install blocked" during installation. Just follow the instructions and install KingoRoot on your device.

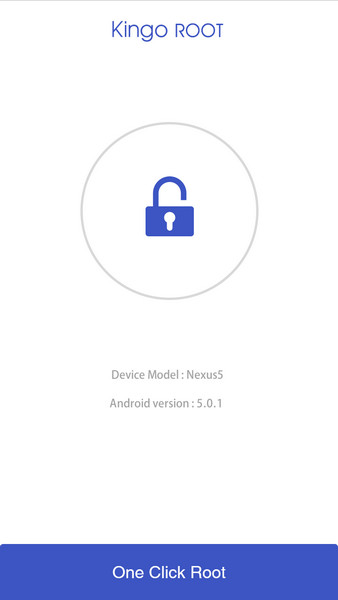
Step 3: Launch KingoRoot.apk and start the rooting process.
Kingo Root is easy to operate. You can start the rooting process just by click the "One Click Root"

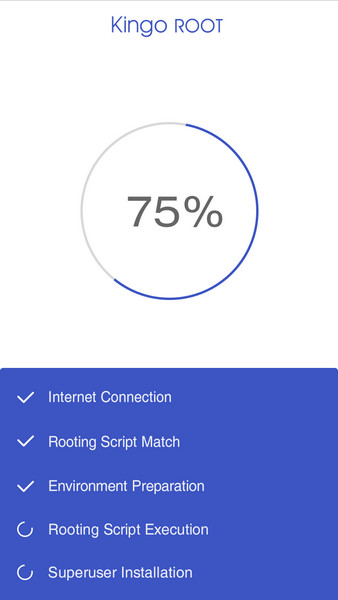
Step 4: Wait until the result appears
It will take a few minutes to complete the process please be patient.

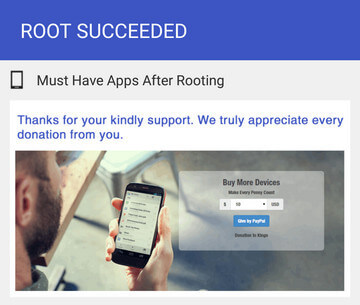
Step 5: Succeeded
If root failed please try several times since there are several scripts integrated in the root tool. It only runs one at a time please try more times.
After a few trails if it still fails please have a try on KingoRoot Android (PC Version), which has a higher success rate due to technical reasons.

How to root any Android device and version with KingoRoot PC Version?
KingoRoot on Windows
KingoRoot Android on Windows has the highest success rate. It supports almost any Android device and version.

KingoRoot for Android
KingoRoot for Android is the most convenient and powerful apk root tool. Root any Android device and version without connecting to PC.

Top Posts
- Successfully Get Root Access On Android 10 (Google Pixle 3 XL) With Magisk
- How to Root Android without Computer (APK ROOT without PC)
- How to Root Android with KingoRoot (PC Version)
- Best Top 5 Root Tools to Safely Gain Root Access for Your Android Devices
- How to Root Your Android 10.0 with Kingoroot root APK and PC root
- How to Root Your Android 5G with Kingoroot root APK and PC root
- How to Root Android 9.0 Pie with Kingoroot Both root APK and PC root Software
- How to Root Android 8.0/8.1 Oreo with KingoRoot APK and Root Software
- How to Root Huawei Packed with EMUI 8 and EMUI 9 or Higher with Magisk
- How to Root Samsung running Android 9.0 Pie with Magisk