How to Root Allview X2 Xtreme via KingoRoot
Allview has released X2 Xtreme for some time. X2 Xtreme is a Dual SIM smartphone powered by Helio X10 processor and runs Android 5.1 Lollipop operating system. The device preserves the SOUL range design trend and perfectly suits any activity including entertainment, business and pleasure.
Rooting X2 Xtreme to get more control over your device may become one hot topic. There are many ways about how to root the phone. Here I highly recommend KingoRoot both PC and APK version which offers the easiest and fastest Android rooting experience for almost all devices and has the highest success rate.
Root Allview X2 Xtreme via KingoRoot APK without PC
RECOMMEND
It is highly recommended that you try KingoRoot Apk first, there is no need to connect your Android device to PC and is very convenient.
- Check "Unknown sources" on your X2 Xtreme.
- Download KingoRoot.apk on your X2 Xtreme.
- Tap "One Click Root" and root it.
- Wait a few minutes until the rooting process complete.
- If failed, try again (There are several rooting methods integrated, but it will run one at a time.)
- If still failed, please try to root your device via KingoRoot Android PC version, which has a higher success rate.
Settings>Security>Unknown Sources
For more details, click How to root any Android device and version with KingoRoot APK?
Root Allview X2 Xtreme via KingoRoot Android (PC Version)
PREREQUISITES
- Free download KingoRoot and install it on your computer.
- Make sure your device is powered ON.
- At least 50% battery level.
- USB Cable (the original one will be the best).
- Enable USB Debugging on your device.
Rooting Steps
- Double-click the desktop icon Android ROOT will be launched.
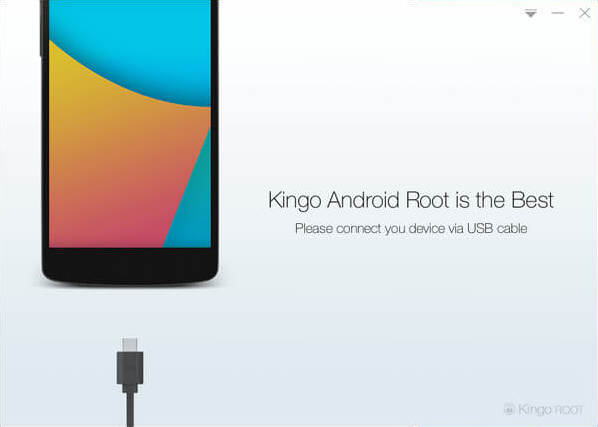
- Connect X2 Xtreme to computer via USB cable.
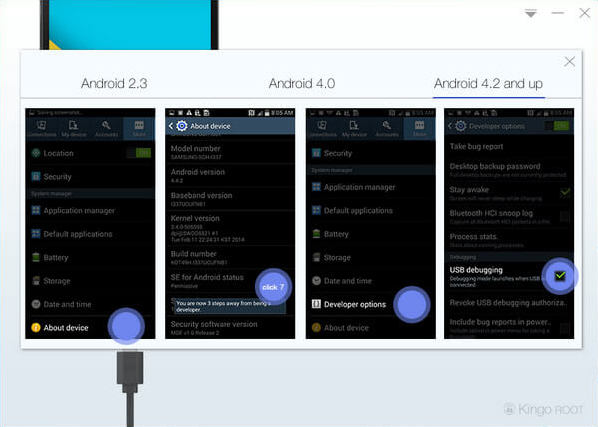
- Enable USB debugging mode on your X2 Xtreme.
- Note: Read the notifications carefully before proceeding.
- Click ROOT to start the process when you are ready.
- Root succeed! Close the window or make a donation.
You will see a picture like below after you launch it.

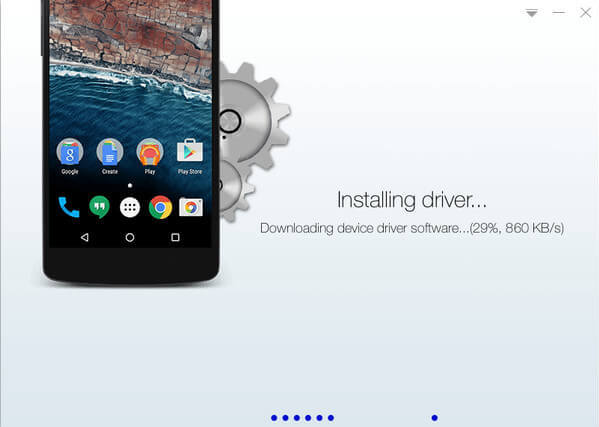
If there is no driver it will install driver first. It will take a few minutes if this is the first time to connect your device to computer. There will be instructions just follow to procceed.


Rooting has its advantages, however, there will also some risks. When you want to root you should know what you are doing.
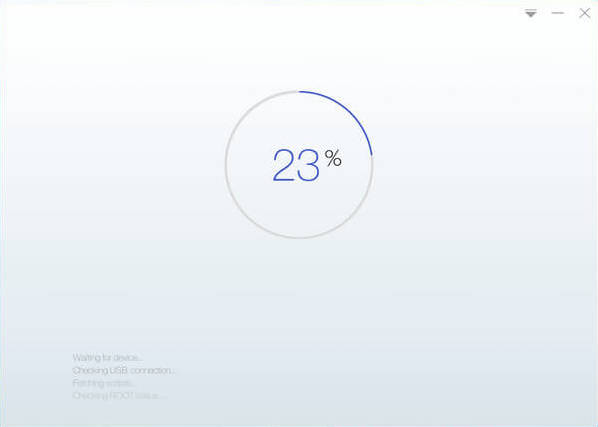
It will take 3~5 minutes to complete the process. Once you started, do not move, touch, unplug USB cable, or perform any operation on your device!

When there is a prompt that says root succeed you need to click finish to reboot it in order to make it more stable. Do not touch, move or unplug it until it reboots. Check your device and find the SuperSU icon, which is the mark of a successful ROOT.

If you want to remove root you can do it with KingoRoot or SuperUser. Click to see how to remove root from Android.
KingoRoot on Windows
KingoRoot Android on Windows has the highest success rate. It supports almost any Android device and version.

KingoRoot for Android
KingoRoot for Android is the most convenient and powerful apk root tool. Root any Android device and version without connecting to PC.

Top Posts
- Successfully Get Root Access On Android 10 (Google Pixle 3 XL) With Magisk
- How to Root Android without Computer (APK ROOT without PC)
- How to Root Android with KingoRoot (PC Version)
- Best Top 5 Root Tools to Safely Gain Root Access for Your Android Devices
- How to Root Your Android 10.0 with Kingoroot root APK and PC root
- How to Root Your Android 5G with Kingoroot root APK and PC root
- How to Root Android 9.0 Pie with Kingoroot Both root APK and PC root Software
- How to Root Android 8.0/8.1 Oreo with KingoRoot APK and Root Software
- How to Root Huawei Packed with EMUI 8 and EMUI 9 or Higher with Magisk
- How to Root Samsung running Android 9.0 Pie with Magisk
