How to Root Android 6.0 Acer Iconia Talk S with KingoRoot on Windows (With PC)
Acer Iconia Talk S was released in October 2016. Powered by a non-removable Li-Ion 3400 mAh battery, the phone runs Android 6.0 (Marshmallow). It packs 16/32 GB internal storage space that can be expanded to 128GB via a microSD card. The phone comes with a 7.00-inch touchscreen display with a resolution of 720 pixels by 1280 pixels. It is really a large touchscreen.
Nowadays, users rely on their Android devices so much. The popular reason why users want to root their Android is to flash a custom ROM. A custom ROM is the ultimate customization. You’re replacing the version of Android that came with your device with something completely new. Custom ROMs come in all shapes and sizes. Some look completely radical, while others are just slightly refined versions of stock ROMs. The choice of custom ROM will depend on what device you have. Acer Iconia Talk S runs Android 6.0 and you may want to experience the 7.0 or above. However, the manufacturer may not provide the update or you need to wait for a long time. The new features of new customs attracts so many user to root their Android.
KingoRoot is an advanced technology that allows you to root your phone and open it up to more possibilities. Since you are gaining root access, you have full administrative privileges in enhancing the way your phone looks and functions. In particular, you can install custom ROM to your Android device once you have rooted it. This modified and feature-rich version of the Android OS includes additional features, unique themes and tweaks that all account for enhanced mobile device performance.
How to Root Android with KingoRoot (PC Version)
Make sure you get everything right beforehand.
- Device powered ON
- At least 50% battery level
- Internet connection necessary
- USB Cable (the original one recommended)
START ROOTING
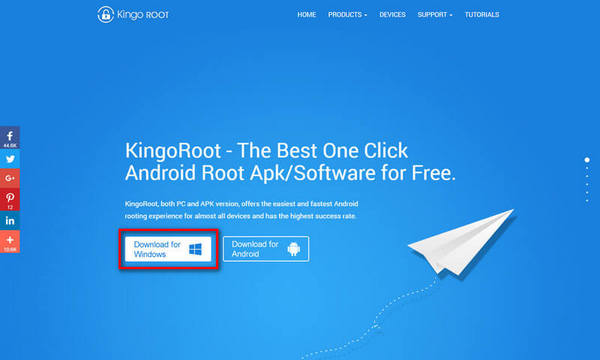
Step 1: Free download and install KingoRoot Android (PC Version).
KingoRoot offers the best one-click Android root software for free. The download will be automatically started to your PC. After download is complete, install the Kingo ROOT.
Step 2: Double click the desktop icon of Kingo Root and launch it.
After launching Kingo Android Root, you will see its interface as shown below.
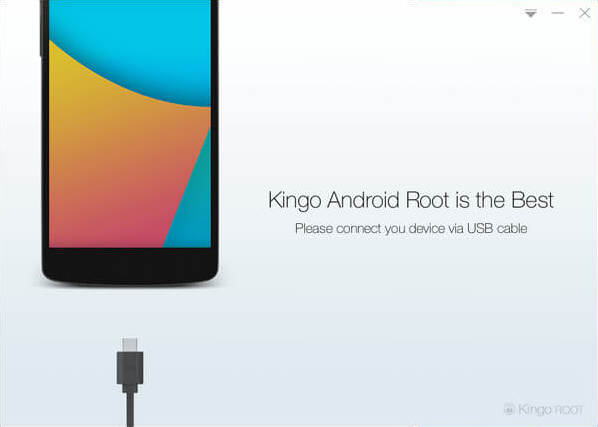
Step 3: Plug your Android device into your computer via USB cable.
If your device USB driver is not installed on your Computer, Kingo ROOT will install it for you automatically. Make sure you get Internet conenction so that device driver can be downloaded. If you can't connect your devcie to the computer, please refer to Device Not Connected.
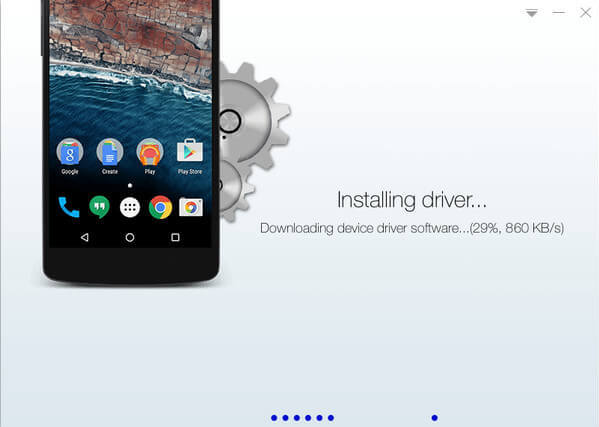
If you are using Windows 8, you may need to change some settings first. When running Kingo Android Root on Windows 8, the issue you may most likely encounter is driver installation looping.
How to solve driver installation looping on Windows 8 when running Kingo Android Root?
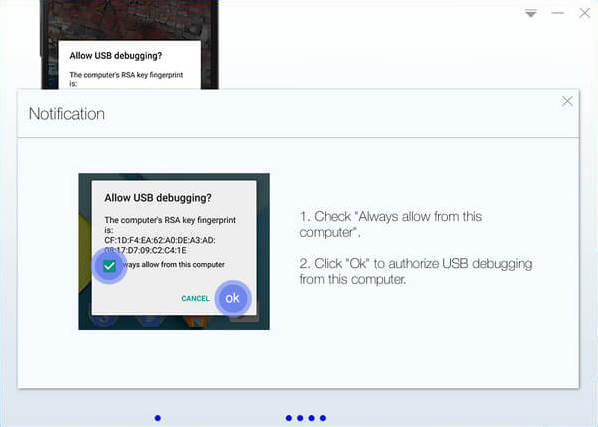
Step 4: Enable USB Debugging mode on your Android device.
USB Debugging mode enabled is a necessary step of Android rooting process.
INPORTANT: Pay attention to your device screen for a prompt window. Tick "Always allow from this computer". If you don't, you will probably get yourself an OFFLINE DEVICE.
Step 5: Read notifications carefully before rooting your device.
Android rooting is nothing big. However, it is not exactly a small issue either. Rooting your device may open a door for you, and yet with risks.
Android rooting is a modification process to the original system, in which the limitations are removed and full-access is allowed and thus resulting in the ability to alter or replace system applications and settings, run specialized apps and even facilitate the removal and replacement of the device's operating system with a custom one. Rooting your device will immediately void your warranty... Click to know more about Android Rooting.
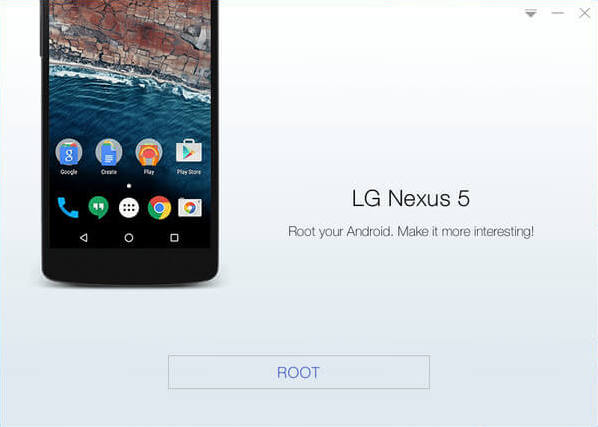
Step 6: Click "ROOT" to root your device.
Kingo Root will employ multiple exploits on your device, which will probably take a couple of minutes. In the rooting process, your device may be rebooted several times. Do not be panic, it is perfectly normal. And once it begins, please DO NOT touch, move, unplug or perform any operation on your device.

Step 7:Root succeeded.
Hopefully your device is well supported and successfully rooted by Kingo. Until your device reboots itself, do not operate.

Step 8: Check the root status of your device.
Normally, you will find an app named "SuperUser" installed on your device after successful rooting.
![]()
KingoRoot on Windows
KingoRoot Android on Windows has the highest success rate. It supports almost any Android device and version.

KingoRoot for Android
KingoRoot for Android is the most convenient and powerful apk root tool. Root any Android device and version without connecting to PC.

Top Posts
- Successfully Get Root Access On Android 10 (Google Pixle 3 XL) With Magisk
- How to Root Android without Computer (APK ROOT without PC)
- How to Root Android with KingoRoot (PC Version)
- Best Top 5 Root Tools to Safely Gain Root Access for Your Android Devices
- How to Root Your Android 10.0 with Kingoroot root APK and PC root
- How to Root Your Android 5G with Kingoroot root APK and PC root
- How to Root Android 9.0 Pie with Kingoroot Both root APK and PC root Software
- How to Root Android 8.0/8.1 Oreo with KingoRoot APK and Root Software
- How to Root Huawei Packed with EMUI 8 and EMUI 9 or Higher with Magisk
- How to Root Samsung running Android 9.0 Pie with Magisk